What is Godot?
If you’re just stepping into the world of video game development, you might not know how to get started. While it is possible to create a game from scratch using nothing but code, this is often incredibly slow and inefficient, as you need to basically create your own physics engine from nothing. This is where game engines can come in handy. While it is completely possible to make a game from scratch, even a game as big as Stardew Valley was made without an official engine, most people don’t have the time or understanding to create a game with no existing tools. Game engines provide easy-to-use tools, such as level editors, animators, and plenty of prebuilt “nodes” to help make development as easy as possible.
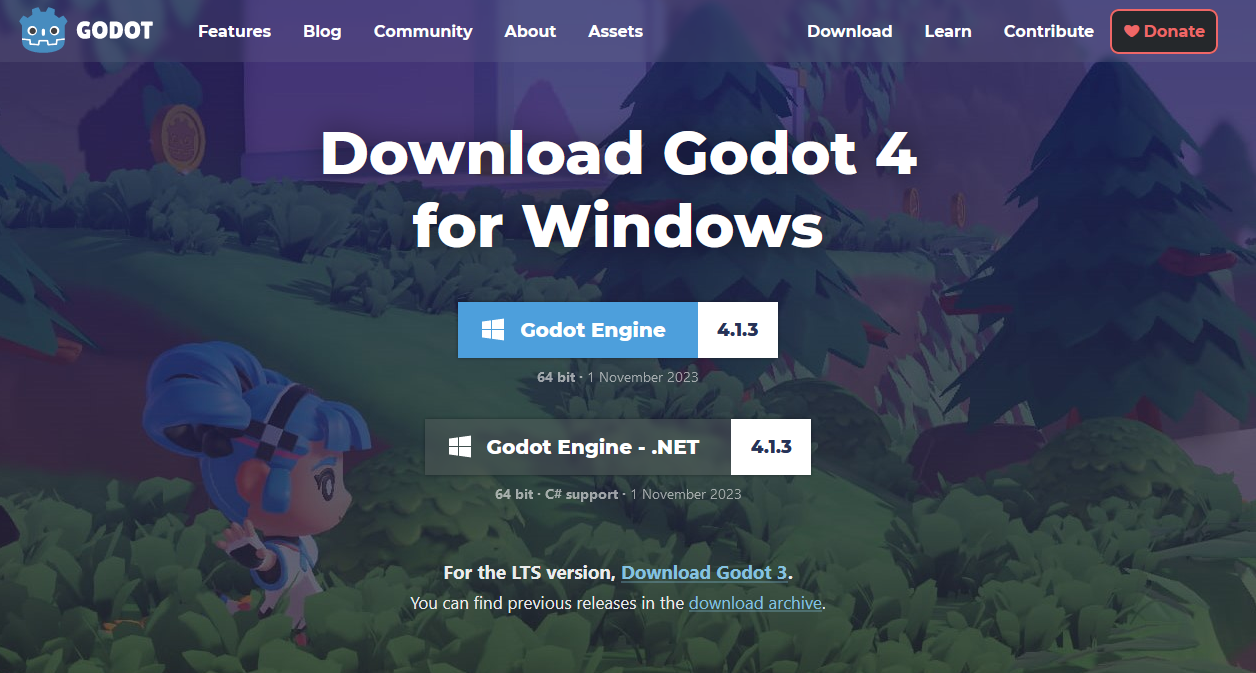
Godot (pronounced guh-dow) is an open-source game engine released in 2014. It is in constant development and allows for the creation of both 2D and 3D games. Since its release, Godot has been steadily gaining popularity among game devs, and the recent drama surrounding the Unity engine has brought a significant amount of attention to the growing game engine. Godot is available for download on their website, and is even available on both Steam and the Epic Games Store.
Godot uses its own personal scripting language for development, known as GDScript, as this allows the features in the engine to be directly supported by the language. However, if you are familiar with other game engines such as Unity, or you have a background in object-oriented programming, you might be more comfortable programming using C#. In these cases, there is a separate download of the engine using the .NET framework to allow for C# development. Unfortunately, the Steam and Epic Games downloads do not support C#, so that version of the engine must be downloaded from their website. Because this blog mostly focuses on object-oriented languages, we will be using the .NET version of the engine for this series of articles. If you plan to follow along with this series, I recommend getting the .NET version, however there are plenty of tutorials available online if you prefer to use GDScript.
Installation
Installation of Godot is very simple. Start by going to the Godot website and downloading the appropriate version of the engine for you.
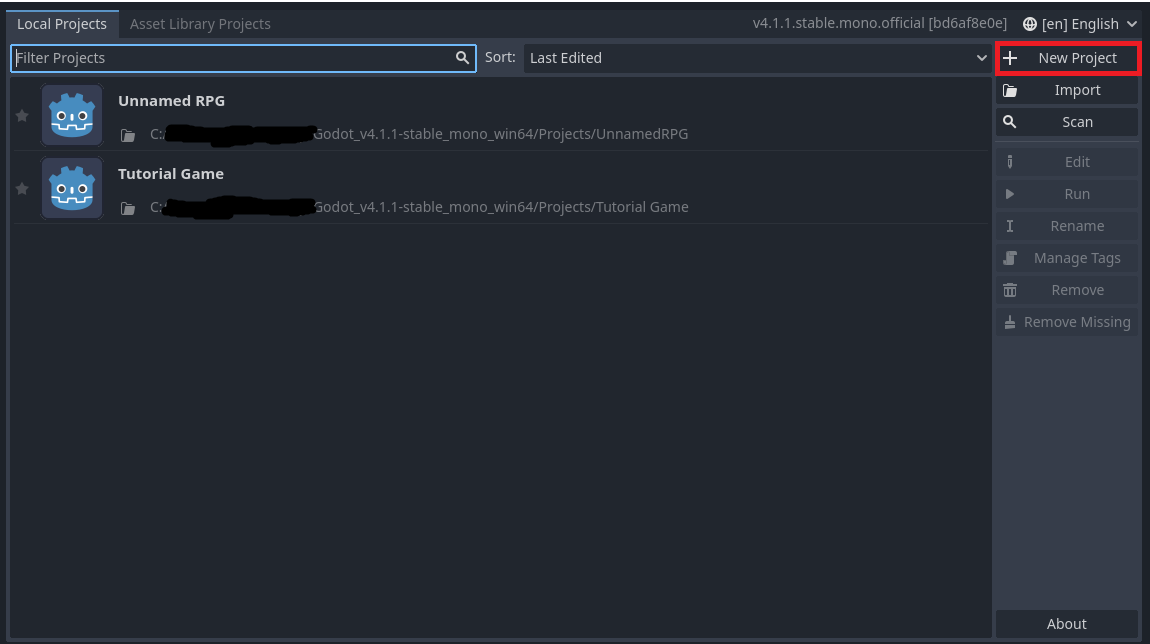
Next just unzip the downloaded folder to whatever destination you choose. Now, inside the folder you should see a folder labelled GodotSharp, as well as two executables. One executable allows for the creation of desktop and mobile games, while the other is for console development. For this tutorial, we will make a desktop game, so go ahead and open Godot_v4.1.1-stable_mono_win64.exe. And that’s it! That’s how you install Godot. The executable will open a project manager, and next we will look at how to create your first project.
Creating Your First Project
Once you open up the project manager, you will need to create a project to work on. Press the “New Project” button at the top right of the window to open up the project creation window.
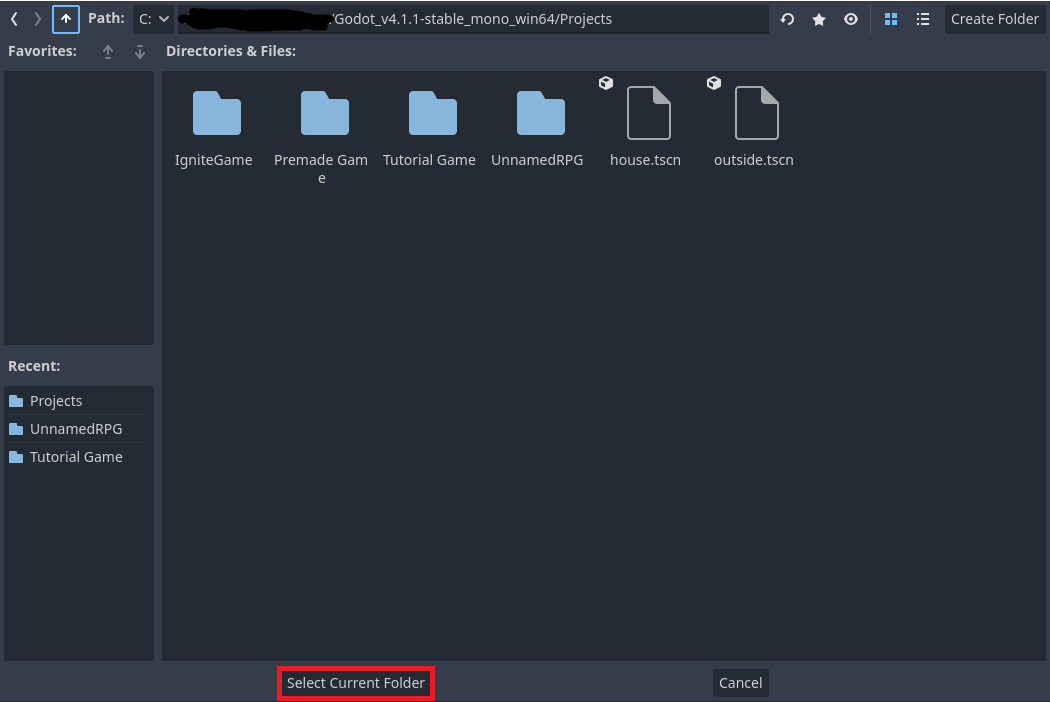
Next you will need to create a name for your project and select a project folder. For every project you create, it is best to use an empty folder, so that no files will mess up your project. I chose to create a “Projects” folder within my Godot folder, and then create a new folder inside of that for every project I make. Start by clicking browse, then navigating to your project folder. Once in the folder, you can click “Select Current Folder” at the bottom. Next you will want to name your project, and if you are still in the projects folder, there is an easy button to create a new folder with the same name as this project.
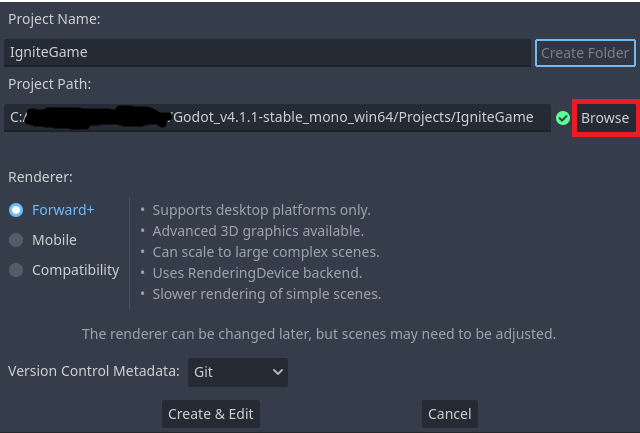
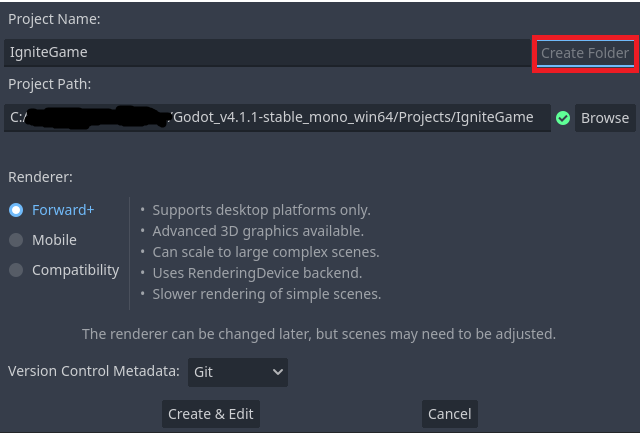
Finally, you can click “Create & Edit” at the bottom of the current window to start your new project.
What Does Everything Mean?
If this is your first time opening a game editor, you might be a little overwhelmed by everything you’re now seeing. Let’s go through it one by one and explain what every window is.
The Game Window
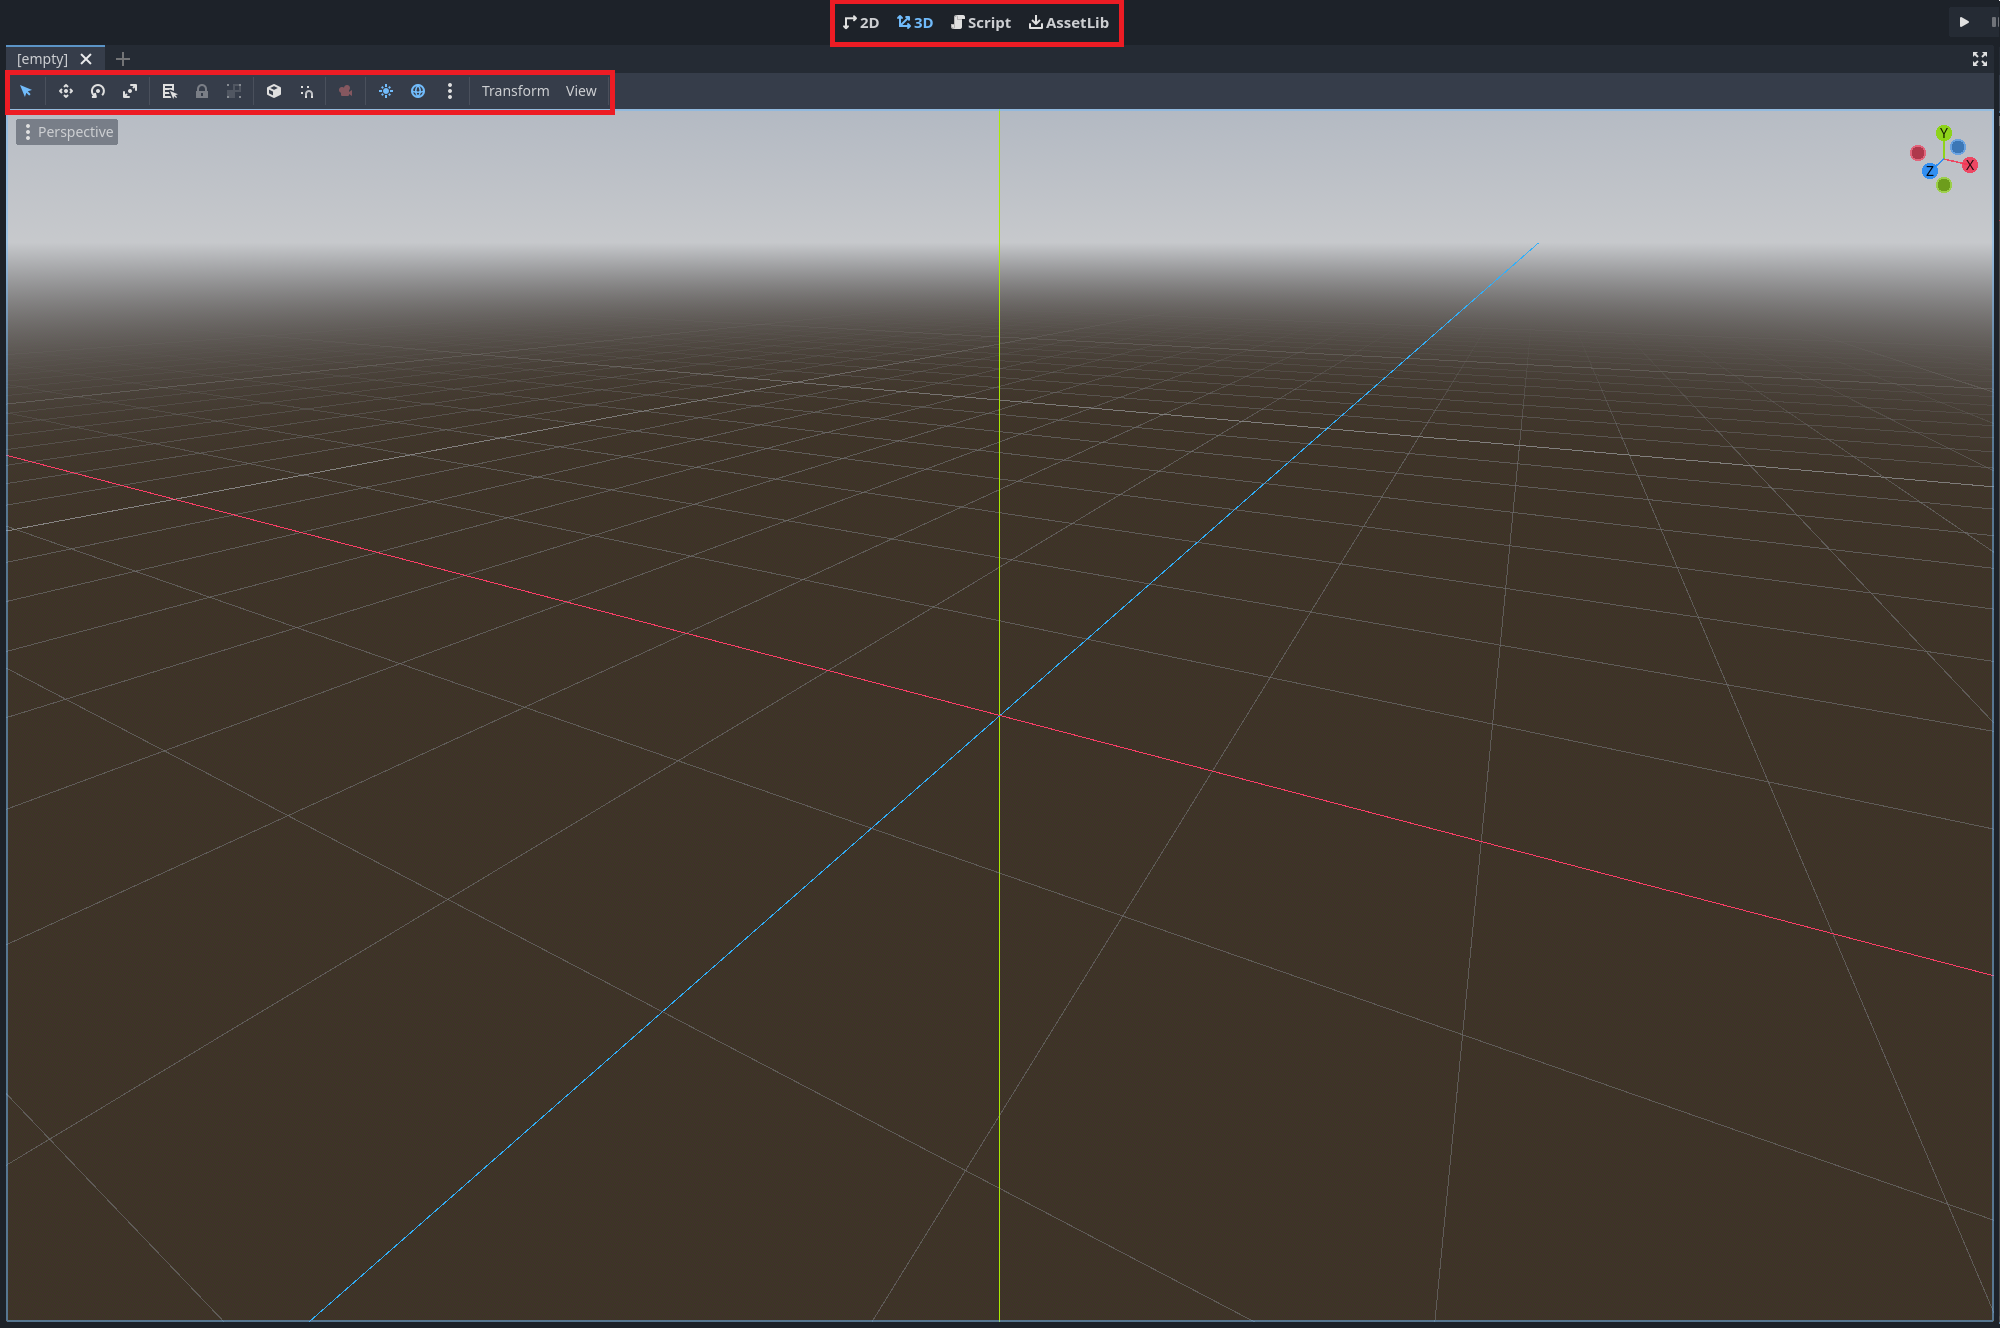
Right at the center of your screen, you should notice a very large, empty plane. Above this plane are several tools. If you have ever used Photoshop, Google SketchUp, Unity, or any other various editing software, you should be able to understand many of these tools. Hovering over each tool will give you a general description of what it does. Above the game window are four buttons labelled 2D, 3D, Script, and AssetLib. Since this tutorial will be creating a 2D game, go ahead and click the 2D button. The script button is very useful when it comes to writing scripts for your game, so we will be using that a lot, and the AssetLib button allows searching and installing any public assets from the Godot store.
Underneath the game window are several different tabs. This is where you will find various editors as you work with different nodes in your game, as well as the error output window and a terminal where output from your game will appear.
The Scene Tree
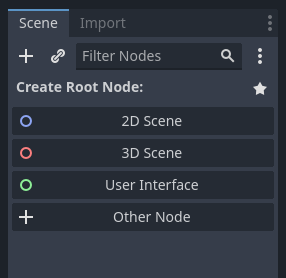
Located at the top left of the window is the scene tree. This is where you add various nodes to your scene, and in some cases you can add other scenes, but we’ll get to that soon. For now, just keep in mind that whenever you want to add a new component to your player, or you want to add audio sources, tilemaps, sprites, etc., this is all done through the scene tree.
The Inspector
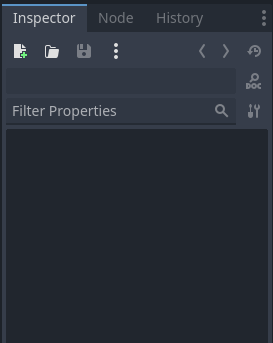
Directly opposite your scene tree is the inspector. This area has three tabs. The inspector tab allows you to see all the properties of a node when it is clicked on, as well as edit values for that node. The node tab will have two sections, signals and groups. Signals are exactly what they sound like, they are signals that a node can give off when different things happen in your game. These signals can be linked to functions that you create, that way you can define specific functionality for different signals. You will also be able to create your own signals to allow for communication between nodes. The groups tab is used for grouping nodes under different names. For example, this can be used if you have many different enemies in your scene, and you want to group together all the enemies so actions can be applied to all of them.
File System
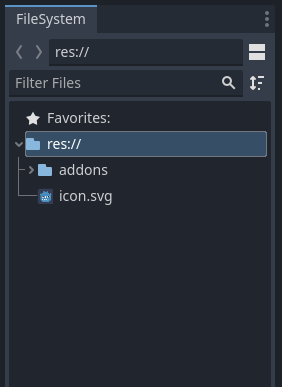
Underneath your scene tree on the left is the file system. This is just a built-in way to see all the files in your game’s project folder. The res:// folder is your root folder, and it is the same as the folder you selected for this project to be made in. As you add new scenes and other assets to your game, they will all be found here. If you plan to add images or anything else to your game that isn’t from the project, this can be done either by adding the file through your file explorer, or by simply drag-and-dropping the file here in the file system.
Documentation Search
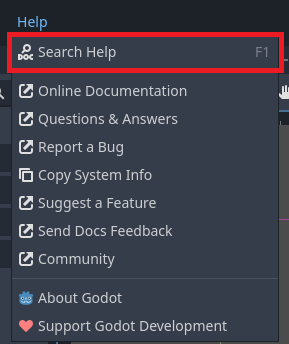
As you are learning more about Godot and game development, your strongest tool will be the Godot documentation. Fortunately, Godot has its entire documentation library built into the editor! All you have to do is click the “Search Help” button in the Help menu at the top left of your window, then search for the node you need. Unfortunately, the documentation is only in GDScript, which is not super helpful if you’re trying to code in C#. If you are trying to develop in C#, all you need to remember is all variable and function names are named using PascalCase instead of the snake_case you will see in the documentation. Most nodes also have tutorials online for how to use them, which can usually be found linked in the documentation for that node. The nice part about these tutorials is they are offered in both GDScript and C#, so you can get a better understanding of different functions and syntax when programming in C#.
What is a Scene?
The first step to making your game is to create your first scene. Before that, we should discuss what a scene really is. Godot is fairly unique in this sense, as a scene is basically a node that you create. These scenes can be used as generic nodes that you add to other scenes, they can be the levels you create, or really anything you need in your game. For example, your player can be created as a scene, then that scene can be added to every level you make. By doing this, if you decide to make a change to your player, you only need to change a single scene, and that change will be reflected in every level the player appears in. Because you will be making many different scenes, it is recommended to create different folders to store your different scenes, so that you can easily find everything. For the purposes of this tutorial, we will not have many scenes, so we can just place them all in the res:// folder.
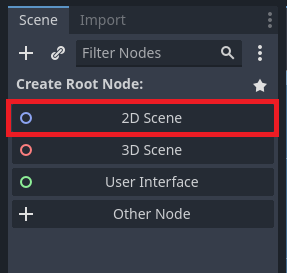
This article will not see any actual game creation. Instead we’ll take a look at some of the tools that Godot has to offer for its nodes. Let’s begin by adding a 2D Scene to our scene tree. This will be a general scene where we add different components just to know how they work.
Once the scene is started, you can save it through the “Scene” menu at the top left, or by pressing ctrl+s. Give your scene a name and save it. It is also a good idea to give your root node the same name as the scene.
In this scene, we made the root node a simple Node2D, but this doesn’t have to be the case. If you had clicked “Other Node” instead of “2D Scene” before, you would be prompted with a Node search where you can select any available node to be the root of the scene. This is useful when making special scenes like players and enemies, but it isn’t always necessary. Now that we have a root node, we can start adding other nodes to our tree. Anything added to this scene must be a child of the root node, however you can add a node as a child of a child. If you want to add nodes as part of a different scene, you start by pressing the “+” icon at the top of the game window, similar to adding tabs in a web browser.
A Quick Look at Some Nodes
As mentioned before, this guide isn’t going to start making a game, but we can get a quick understanding of some common and important nodes. These will all be 2D nodes, however most will have 3D counterparts that function similarly if you are working in 3D.
Area2D
The value of an Area2D node isn’t from the methods or values it provides, but from the signals. Try right-clicking the Node2D in your scene tree and then clicking “Add Child Node”. From there, search for Area2D and finally press “Create” at the bottom of that window.
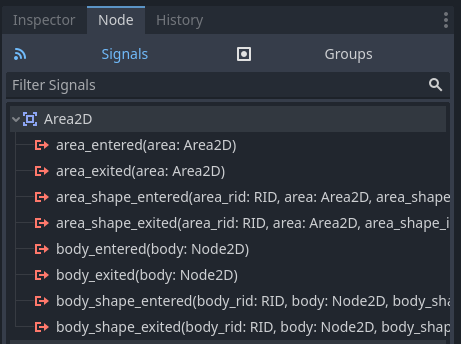
To see what the image above is showing, first select the Area2D in the scene tree, then click “Node” next to the inspector tab, and make sure you have the “Signals” subtab selected. Now as you can see, the Area2D has some unique signals that most other nodes will not. These signals can be connected to specific functions in a script and will call the connected function when the signal gets emitted. For example, the area_entered signal will be emitted when another Area2D enters this one, it will call that connected method and provide it with the object that entered it. Similarly, the area_exited signal will do the same thing when an Area2D leaves this one.
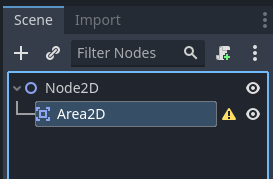
Now you may be concerned that your Area2D node has a little warning symbol next to it, this is normal. The problem is we haven’t added any area to the node, so none of the signals will work. To solve this, we need to add a child node “CollisionShape2D” to give it a shape. Repeat the steps you followed to add the Area2D to the scene to add a new child to the Area2D and search for “CollisionShape2D”. Immediately, you will notice the warning symbol hasn’t gone away, but now it has moved down to the CollisionShape2D. This can also be solved very simply.
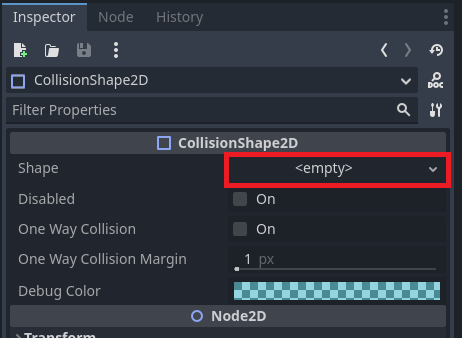
The problem now is the CollisionShape2D doesn’t have an assigned shape. Select the CollisionShape2D from the scene tree, then click on the Inspector tab at the top right, this will show you all the properties of the node. From here, click the drop-down menu labelled “Shape” and select CircleShape2D. If you have the 2D tab selected, you should notice a small circle has appeared around the origin.
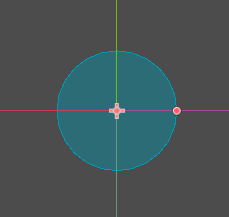
If you have the CollisionShape2D selected, you should see a small red dot on the edge of the circle. This can be used to adjust the radius of your shape. Any shape can be selected to resolve the warning in the scene tree, and each holds its own purpose. Feel free to look up the documentation of the different shapes to better understand them, but all of the actual shapes are generally used to match the sprite of whatever scene you are working with. You can add as many CollisionShape2D’s as you want to your Area2D and they will act as a singular shape, but be careful with this because multiple shapes can increase the complexity of your object, which can slow your game down.
Sprite2D and AnimatedSprite2D
When you go to run your game, you won’t be able to see anything unless you assign a sprite to your scene. The Sprite2D node is useful for adding a static image to your scene, and the AnimatedSprite2D comes with an animation tool so you can make your scenes move. It is important to note that this animation editor cannot help you animate a sprite, your frames still need to be created in some other program, it just lets you add frames and adjust the framerate of an animation. We won’t worry too much about the AnimatedSprite2D for now, but let’s take a closer look at the Sprite2D node. Try adding one to your scene tree.
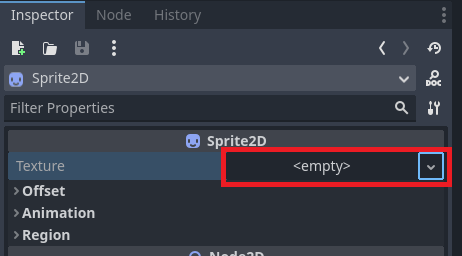
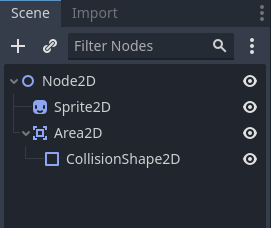
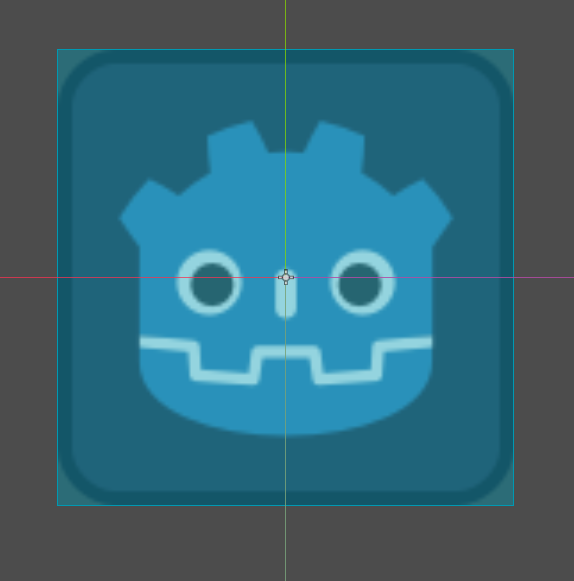
Now in the inspector tab, you should notice there is a property to add a texture that is currently empty. This can be filled by opening the drop-down menu and loading a file, or you can just drag an image from the FilySystem tab into the empty slot. Try dragging the “icon.svg” file to give your node a texture. After giving your node a texture, you might notice that your Area2D shape is now hidden, this is because it is behind your image. The CollisionShape2D cannot be seen when running the game, but it is helpful to be able to see it when looking at the game editor. This can be solved by changing the scene tree. The game draws the node top-down, meaning if your Area2D is above the Sprite2D, it will get covered. Try dragging the Area2D so it is under the Sprite2D. Your scene tree should look like the following image:
Now that you can see your Area2D shape again, it doesn’t appear to match the shape of the image. When you go to make your player and other important scenes, it’s a good idea to match the collision shape to the sprite so that your interactions don’t look confusing. Try selecting the CollisionShape2D, changing the shape to be a SquareShape2D, and adjusting the shape to match the sprite. It should look like the following:
CharacterBody2D
This node is especially useful when creating your character scene. Normally this would work best as the root node for your character scene, but it can be added as a child node if you want. There’s nothing important in the visible properties of this node, however it has some useful member functions that give it some unique functionality over other nodes. I recommend you take a look at the documentation for this node for a better understanding of how it can be used. The CharacterBody2D has a built-in velocity variable that can be set for moving your scene. Additionally, you can call the move_and_slide() function and it will move your character depending on the velocity, as well as stop the movement if your character collides with either a StaticBody2D or a RigidBody2D. Functions like this make the CharacterBody2D a very useful node for creating a game.
Next Steps
After following this guide, you should understand how to create a project in Godot, as well as some knowledge of the different things Godot has to offer. It is a good idea to take a look at the documentation for some of the other nodes available to you in Godot, as there are many useful nodes provided. Future articles in this guide will go on to show off some of the tools in a bit more depth, and some general steps required for making a game. If you are looking for other external resources to get you started on your game-making journey, I recommend following along the Godot Introduction found here. This introductory series is great for understanding some of the tools that Godot has to offer.