See previous post
Introduction
Welcome back to our crash course on Node! It’s been a while, but in the last article, we discussed what NPM is and how we can use the 1.3 million available packages to build our projects with Node.js. While it may have seemed like a lot of information at the time, in this article, we’ll use all that information to install and use Express.js, a package that will allow us to listen for and handle incoming HTTP requests, a functionality that is central to any web application! Using this, we’ll finally start to see the beginnings of our due date tracking application, Due or Die.
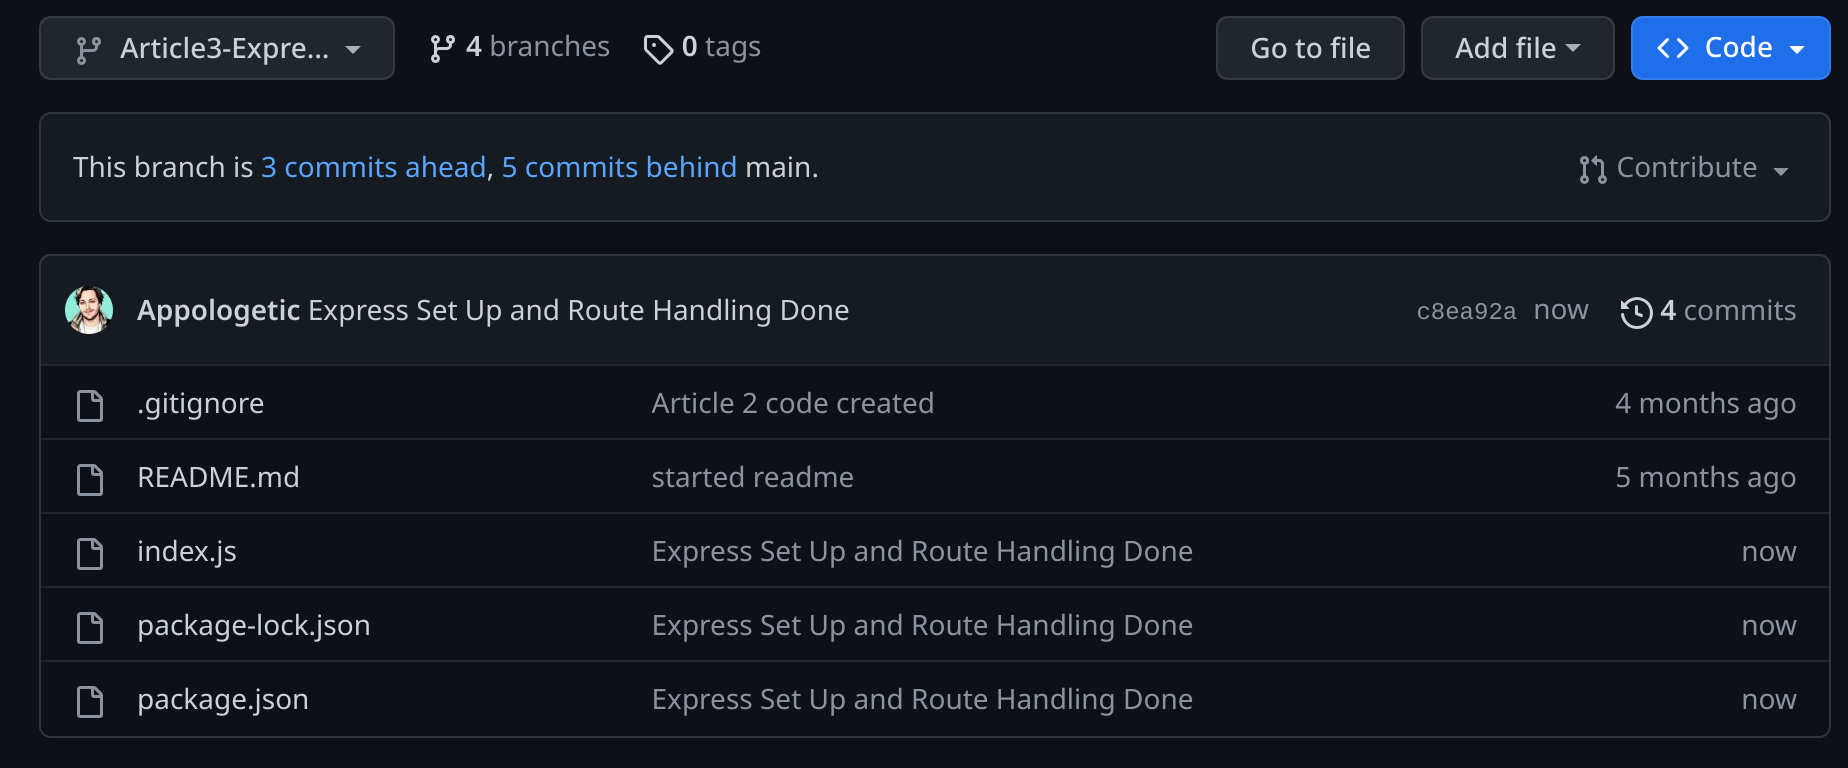
One last quick reminder: You can find all the code from this series in the GitHub repo, where we publish a new branch for each article containing all the code from the lesson so that you, as readers, can follow along with the article and see things in action on your machine. As we use more packages and build upon the code of previous lessons, this will become more useful so that you can see how the changes we make in each lesson fit into our application. So, if you’ve not already, I recommend looking at the repo and branches to get a feel for them. It’s also an excellent way to see how we’ve progressed, how much we’ve learned, and how far we’ve come throughout the series!
HTTP and Express.js
HTTP, or Hypertext Transfer Protocol, is a standardized protocol devices and programs use to communicate with each other, APIs, websites, servers, etc., using a request and response approach. Kieran’s first article on setting up an HTTP server has a fantastic, in-depth explanation of the format and anatomy of these requests, responses, and methods used to make them. It is excellent background reading before developing a web application like ours. At the bare minimum, I’d highly recommend reading the portion of the article titled “How HTTP Works,” which covers the information we’ll need here, but I’ll do my best to go over any required background information here as we touch on it.
At its core, Express is a web framework for Node that allows our application to listen for and handle these HTTP requests on different URL routes, serve static files and templates as web pages, and more. For those of you who have taken or mentored for the Schulich Ignite Scorch course, you likely are familiar with this functionality already as it’s incredibly similar to that which Flask handles when building web applications using Python. Because Express is a convenient and feature-rich option for handling HTTP requests and sending responses, it’s quickly become the go-to web framework for JavaScript developers using the Node runtime to build APIs and web applications. For these reasons, Express will be the web framework we use to handle the requests on the server side of our Due or Die application.
Install and Set Up Express
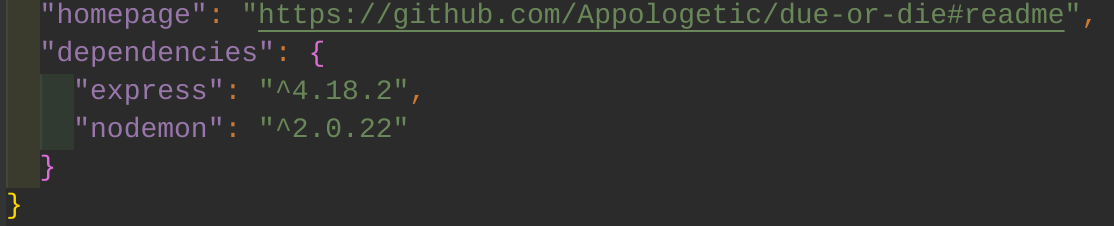
Since we had already set up our project in the previous article (along with some valuable scripts like npm run dev) using the npm init command, installing new packages is simple and will follow the same process we used previously to install nodemon. A quick visit to the Express doccumentaiton tells us that the install command we’ll use is “npm install express,” so all we’ll need to do is run that in our project directory to install the package. Remember as well that simply running the install command of the package will automatically update the dependencies of our application in the package.json as well, so no need to manually add it in!

Now that we’ve successfully installed Express, we need to set it up in our application to begin listening to and processing requests. To do so, the first thing we’ll have to do is import Express into the file that we’ll be using. We’ll import Express into our index.js file, which we used in the last article, along with some mock URLs to print out various responses. To import Express in this file, we’ll use an import statement with the syntax of const package = require("package") and replace the word package with whatever we’d like to import, which for us is Express. This import process is similar to the “import package as” statement in Python, where we’ve required our package and provided it with a name that we can use within our code. For readability, it’s standard to name this after the package you’re importing so that it’s clear what you’re referencing as your code gets larger. In the screenshot below, you can see that I’ve included the import statement for Express in our index.js file so that we can begin using its functions.

The last thing we need to do to set up Express is create an app instance and tell the app to begin listening for requests when we run the file. To do so, we’ll need to create a variable and call the express function that we’ve just imported. The standard naming convention is to call this variable “app,” as I have in the code snippet below; however, you can call it whatever you’d like. Just remember that we’ll be using this variable to create routes and start the application later on, so if you name it something different here, you’ll need to reference that variable name in your code wherever you see us reference our app variable.
Now that we’ve instantiated our app, we’ll tell it to listen for requests when we run the index.js file. To do so, we’ll use the following code:
app.listen(5050, () => console.log("Listening for requests on port 5050"))
In this code, we’ve run the listen function, which we’ve provided with two parameters. The first (5050 in our code) is the port on which we’d like the app to listen for requests. For us, when we run this file, it means we’ll be able to send requests to our application using localhost:5050. The second parameter we’ve passed is a callback function, which will run when the app listens for requests. This callback function can do any number of things, such as log errors on startup, perform some maintenance on your site, check for updates, etc., but in our case, we’re just using it to log to the console that we are now listening for requests.
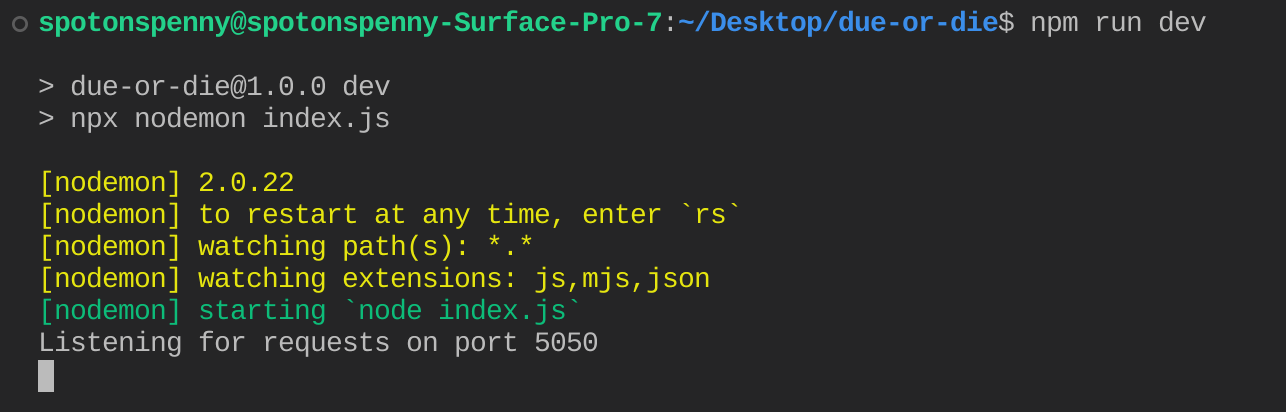
Now that our setup is complete, we can use the “npm run dev” script we created in our last article to run the index.js file to start up our app! From the screenshot of my terminal below, you can see that the app has started successfully and printed the statement saying just that per our callback function. For clarity, I’ve also commented out the rest of the code in this file, but we’ll get back to that in a moment when we start handling requests using our app.
Handling HTTP Requests
Now that we have an express app running and listening for requests, we can begin setting up our application with routes to handle the requests it receives. If we were to go to localhost:5050 (the port we’re listening on) in our web browser at this point, we’d be met with an error stating, “Cannot GET /.” While this is different than a “this site cannot be reached” error that we’d usually get, which tells us that we successfully sent a request to our application, we are still getting an error because we haven’t set up our server to handle these requests yet. We can handle these requests by writing code that tells our application what to do when it receives different requests at different URL slugs. These bits of code are called routes and can be set up for any URL within your application. Let’s start with setting up a route for our root which we just tried to access, typically denoted with a “/”, as the first route for our application.
The first thing we need to consider when creating our route is the method of the request we’re expecting, which is where that background reading I recommended earlier comes in handy. Since we’re attempting to access a URL of our application via the web browser, we’re submitting a GET request to our server and asking it to provide us with the resources under the “/” URL slug. To handle GET requests such as this using Express, we can set up a route as shown in the snippet below:
app.get("/", (req, res) => {
    console.log(req.method, " request received at URL slug ", req.url)
    res.send("Welcome to Due or Die")
})
Let’s break this code down. Since we’re expecting a GET request, we’re using our app to call the function “get,” which belongs to the express app object we created previously. A similar function exists for each type of HTTP request, including POST, DELETE, and PUT, or you can even allow all request types by using the “all” function.
We then pass the function two parameters. The first is the URL Slug that we’re expecting to receive the request. Since this is for our application’s index, we’ve specified that we’re expecting to receive the request at “/.” However, if we were expecting a request from “/home,” we would put that here instead. The second parameter that we pass to this function is another callback function. This function is middleware, code that runs between the receipt of the request and our server sending back the response, which tells our application what we’d like it to do and can be as complicated or as simple as your heart desires. These callbacks will be incredibly useful to us later when we are processing POST requests from form submissions and would like to do something with the data we receive. For now, we’re simply logging to the console that our server has received the request and sending back a response.
You’ll also notice that our callback function has two parameters: the req and res objects. The req (short for request) object contains information on the request we received and are processing. In this case, we use req.method to print out the method of the request and req.url to print out the URL that the request was made to (in this case, “/”). The res is the response object, which we’ll use to send a response back to the web browser from which we received the request using the send method. In this case, we’re just sending back the “Welcome to Due or Die” string, which will be visible in the web browser.
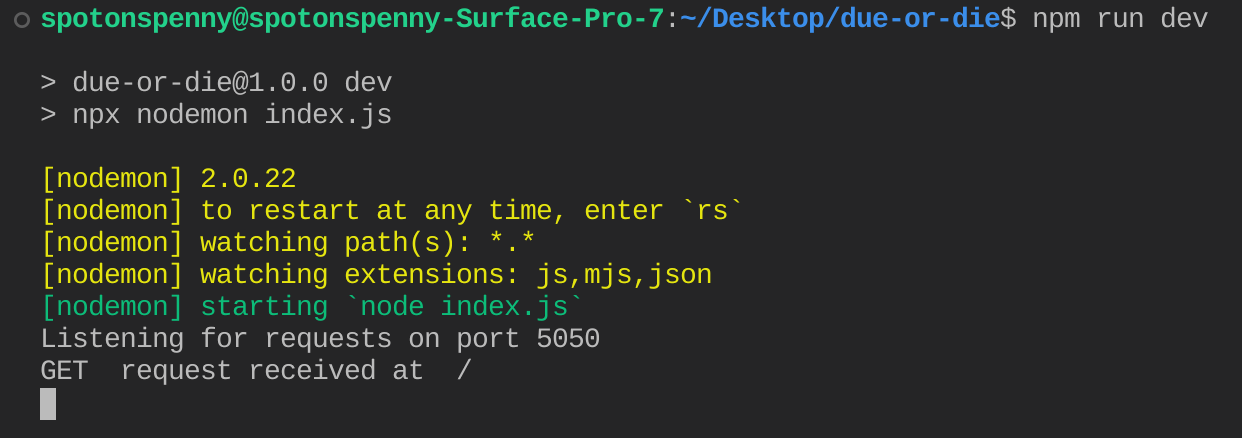
Now that we’ve set up our first route, if we were to revisit localhost:5050 after running the file and ensuring that we’re listening for requests, we’d be met with the response we specified! Not only that, but information about the request has also been logged to the console. We can then repeat this process for other routes we’d like our application to handle, changing the response and console messages depending on the information we’d like to send to the user and know about the incoming requests.

Handling Multiple Routes and 404s
In the last article, we used Node to process a mock URL and log a corresponding response to the console. The URLs were a root URL, a URL with a /sign-up slug, and a 404 Not Found response for any other page not specified. To handle another route, such as “/sign-up,” we need to write another handler using the get function, specify the URL we expect and the response we’d like to send, and save the file so that nodemon will restart the server. After writing, we can go to the URL specified and get a different response from the “/” handler we wrote earlier.
Lastly, we’ll need to handle 404s or instances where a user requests a URL that our server doesn’t know how to manage or that we’ve not set up. Instead of using the method functions such as .get() for this, we’ll use the “use” function. When we send requests to our application, Express checks through all the routes from top to bottom to see if the request URL matches any of the URLs specified in our routes. This top-to-bottom bit is vital because the use function will apply to all routes and requests below the point where we’ve written it. To handle all requests besides the ones we specified, we’ll need to put it after all the routes we created. Then, we only need to pass the use function a callback telling it how we’d like to handle any other requests, which I’ve done in the code snippet below. We’ll also use the .status method on the res object to set the status of our response to 404 to indicate that there are no resources under the requested URL.
app.use((req, res) =>{
    res.status(404).send("404: The page you requested does not exist")
})
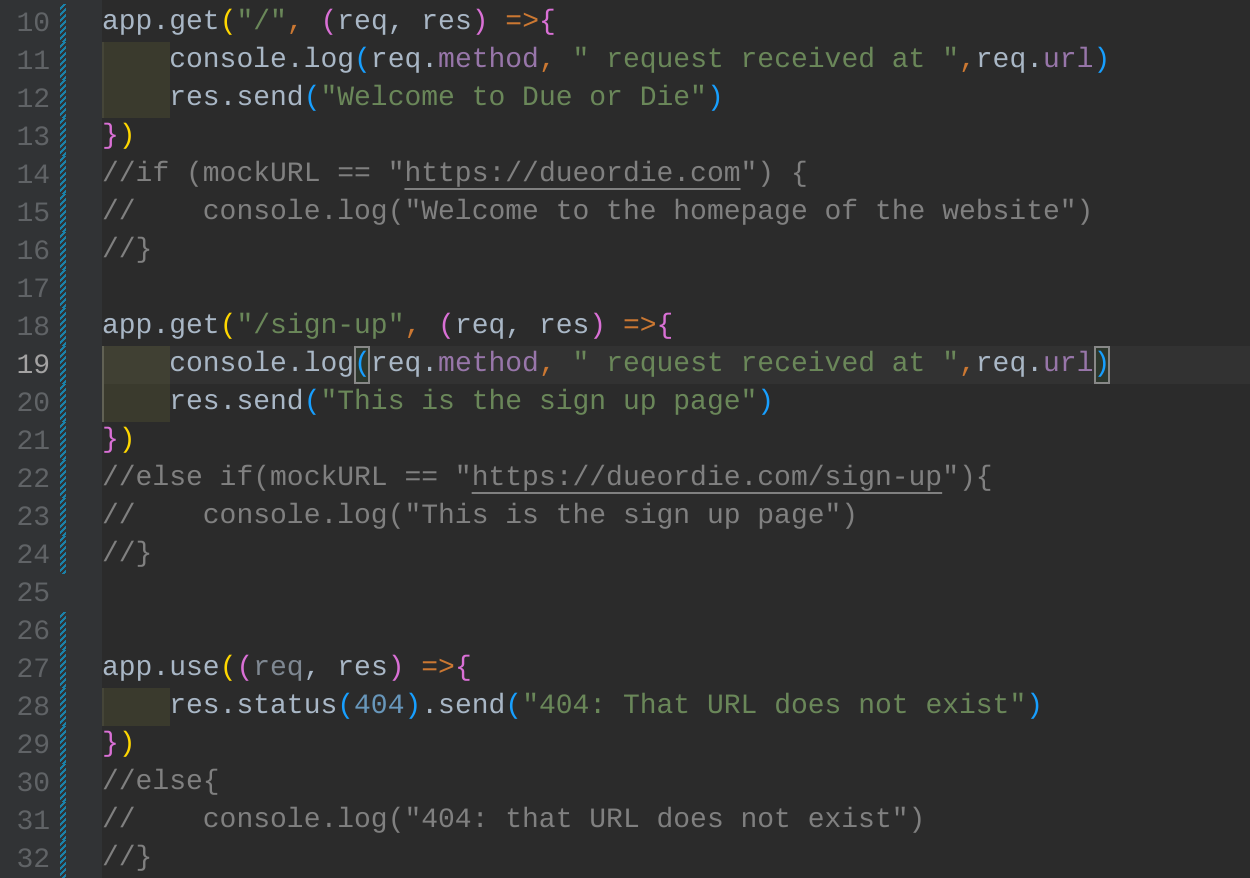
And that’s it! We’ve now swapped out our mock URL handler for our express app and the ability to handle actual HTTP requests that come into our local web server. We can now run the app with the npm run dev command, visit any URL under our localhost port 5050, and receive, at the very least, the 404 response. For comparison, I’ve included a screenshot below of each route and the if-else statement logic equivalent for our mock URLs from the last article.
Conclusion
While it may not seem like it, we’ve come a long way since our first article! We now not only have an in-depth understanding of what Node is and how to use the 1.3 million node packages to our advantage, but we also know the basics of using Express to create a complete web server that can handle incoming HTTP requests and send back a response based on the request we received. In our following articles, we’ll expand on this to serve static pages and EJS template pages to render dynamic content used in our application. Though this was a shorter article, it was chock-full of information that we can use to build out complete websites, and we’ll make use of this information consistently in the remainder of our series as we build out Due or Die. Try out what you’ve learned here by creating your own express apps with corresponding routes and responses!