See previous post
Introduction
Welcome back to our crash course on Node! In the previous article, we walked you through the basics of Node, including what it is, what developers use it for, how to install it, and how to use it to run JavaScript files. In that article, we touched upon some functionality that comes with Node out of the box called NPM, which will be central to our Node development. In this week’s article, we’ll expand on this further and dive into how we can use NPM to find and install the first package for our application.
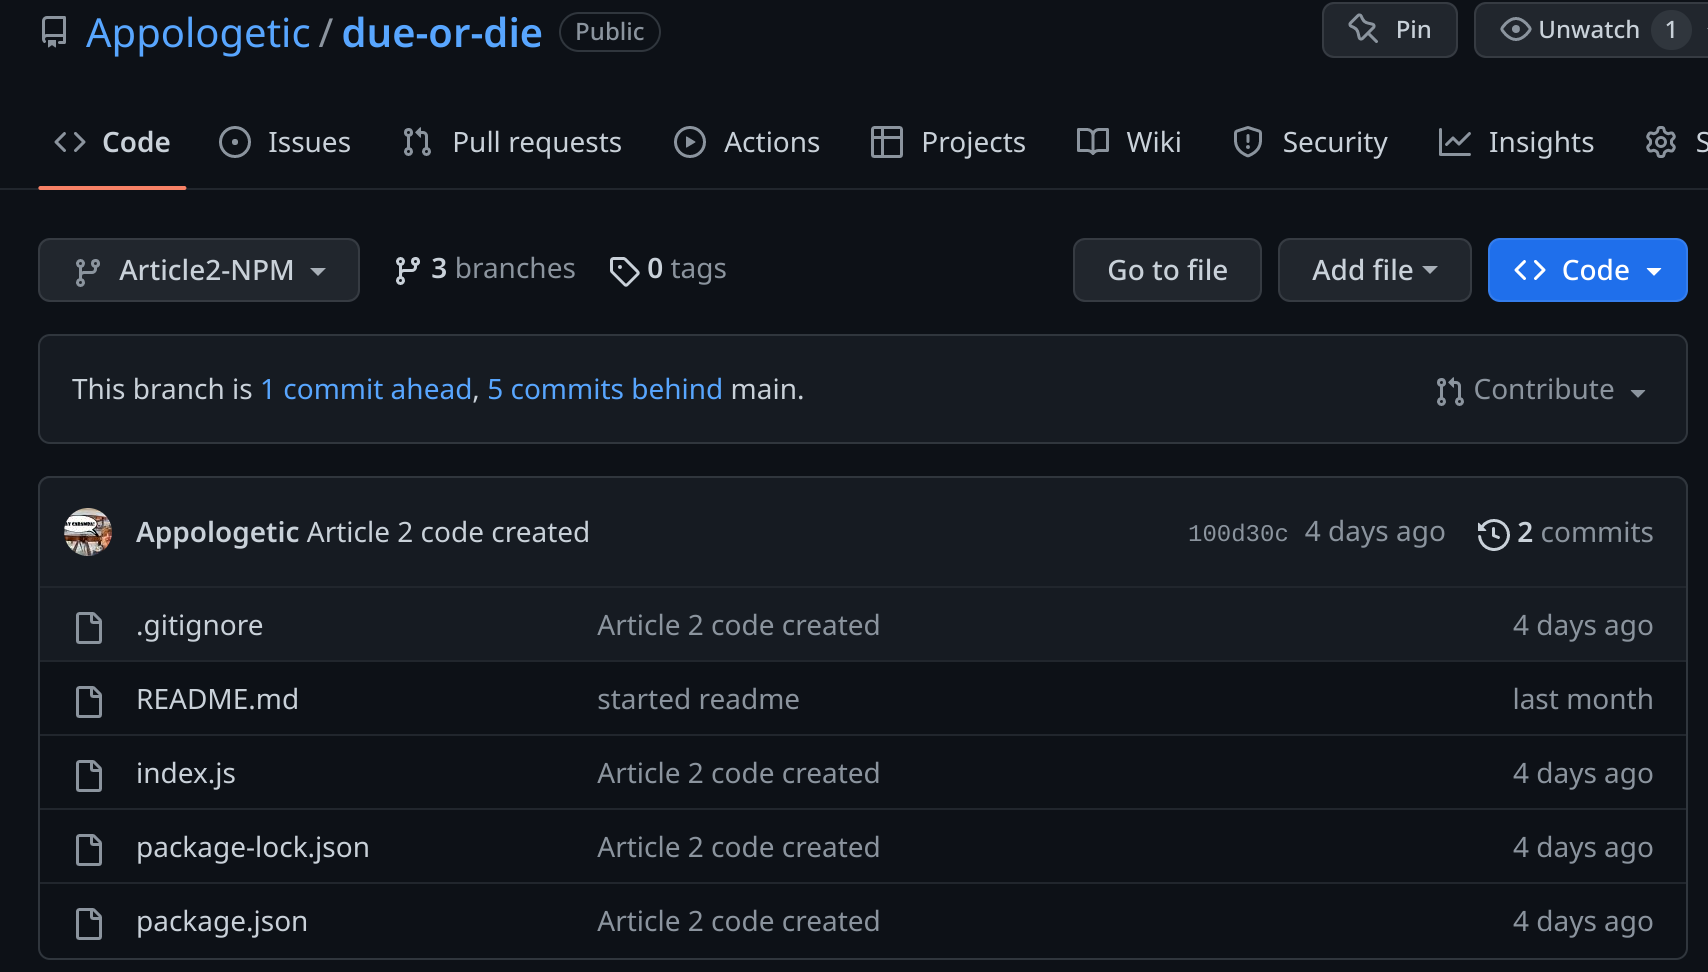
As a reminder, all the code from this series can be found in the corresponding GitHub repo here. Each article in the series will have a related branch containing all the code from the lesson. The branch for this article is titled “Article2-NPM” and is available now for you to follow along with this lesson. You’ll also notice that the “HelloThere.js” file we used in the previous article is not in this branch. We removed this file because it served only as an example and is no longer relevant now that we know how to run JavaScript files with Node. With a clear folder, we can begin filling our repository with files related to Due or Die, the due date tracking web application we’re building. While we won’t touch too much on the application itself in this article, it’s still important to remember the end goal so that we can see what we’re building towards!
The Node Package Manager (NPM)
Previously, we described the Node Package Manager (NPM) as the world’s largest software registry, which is true! NPM provides JavaScript developers with over 1.3 million packages that we can choose from, but it also provides us with a set of valuable tools we can use from the command line. In this section, we’ll cover these aspects of NPM and show you how they will be helpful in our Due Or Die project.
NPM Init and the “package.json” File
When starting a new project, we must start off on the right foot by setting up properly. Luckily for us, NPM has a built-in command which does precisely this. To do so, we’ll need to open a terminal and cd into the folder we’re building our project in and run the following command:
npm init
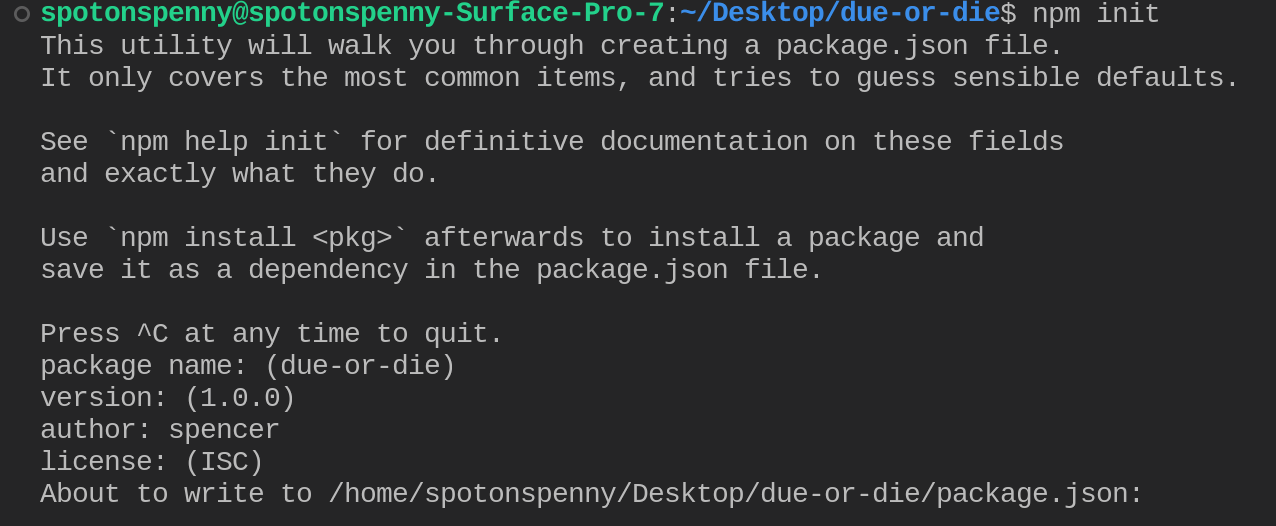
After running this command, you’ll be met with several options that will set up what I like to think of as the hub of our project, the package.json. This JSON file has several required fields, such as the name of our project, its current version, author information, the program entry point, scripts, dependencies, and much more. The package.json file is not only an essential part of the development process, as you’ll learn, but it’s also how information, such as keywords, descriptions, version numbers, etc., is provided to NPM when publishing a package for others to use. If you’re curious about what options are available for this file, you can find the documentation here, but in our project, we’ll focus on the defaults. In this case, I’ve filled in the options per the screenshot below. I’ve left the keywords sections blank since we aren’t building a Node package, so they aren’t needed here. Additionally, the text in brackets for each option that comes up in the terminal is the default, which we can hit enter to use if we don’t want to fill in our own value for that option. Once we’re happy with our selections, we can confirm, and NPM will generate the package.json file according to our specifications! Some pf the other fields will also be filled in automatically, such as the repository which will be set by git and the description which is taken from the readme file.

Alternatively, if you’d rather not use any of these options or would like to fill them in later, you can run the npm init option with the flag “-y” to skip through the setup process and create the package.json file with the default options.
npm init -y
Finding Packages and Nodemon
With upwards of 1.3 million packages available for use in your application, sometimes it’s necessary to search a little to find exactly which one you need. Luckily for us, the Node developers community is vast in size and expertise, meaning any question you have or issue you may run into while developing your project has likely already been asked by a few other people, and answers are easy to find with a simple Google search. The same can be said for packages. If you need a package that provides a specific functionality, a simple search of “node packages that do x” will return countless lists that will give you any number of packages.
That said, if you’re more of a “do it all yourself, avoid StackOverflow at all costs” kind of developer (props to you), you can search for packages yourself from the NPM homepage. By searching for what you’d like a package to do, you will be met with a list of matching packages based on the keywords and description provided by the developer in the package.json file.
Let’s practice by finding one package to use in our project. Something about Node that is a bit of a pain is that we have to re-run our JavaScript files after we make any changes to them to see that change. This means that if we start up a web server and add the code to handle a new URL or request, we’ll need to stop the server and start it up from the command line by rerunning the JavaScript file. This can become a laborious task for us, especially when troubleshooting bugs in our system, making a small change, and reloading several times to resolve the issue. Surely, there must be a package that we can use to fix this, right? Well, let’s take a look…
When we break it down, we’d like a package that monitors our code after running it and automatically re-runs the file when a change is saved. With this in mind, let’s head to the NPM homepage and search for the keywords “monitor” and “autoload” and see what we can find.
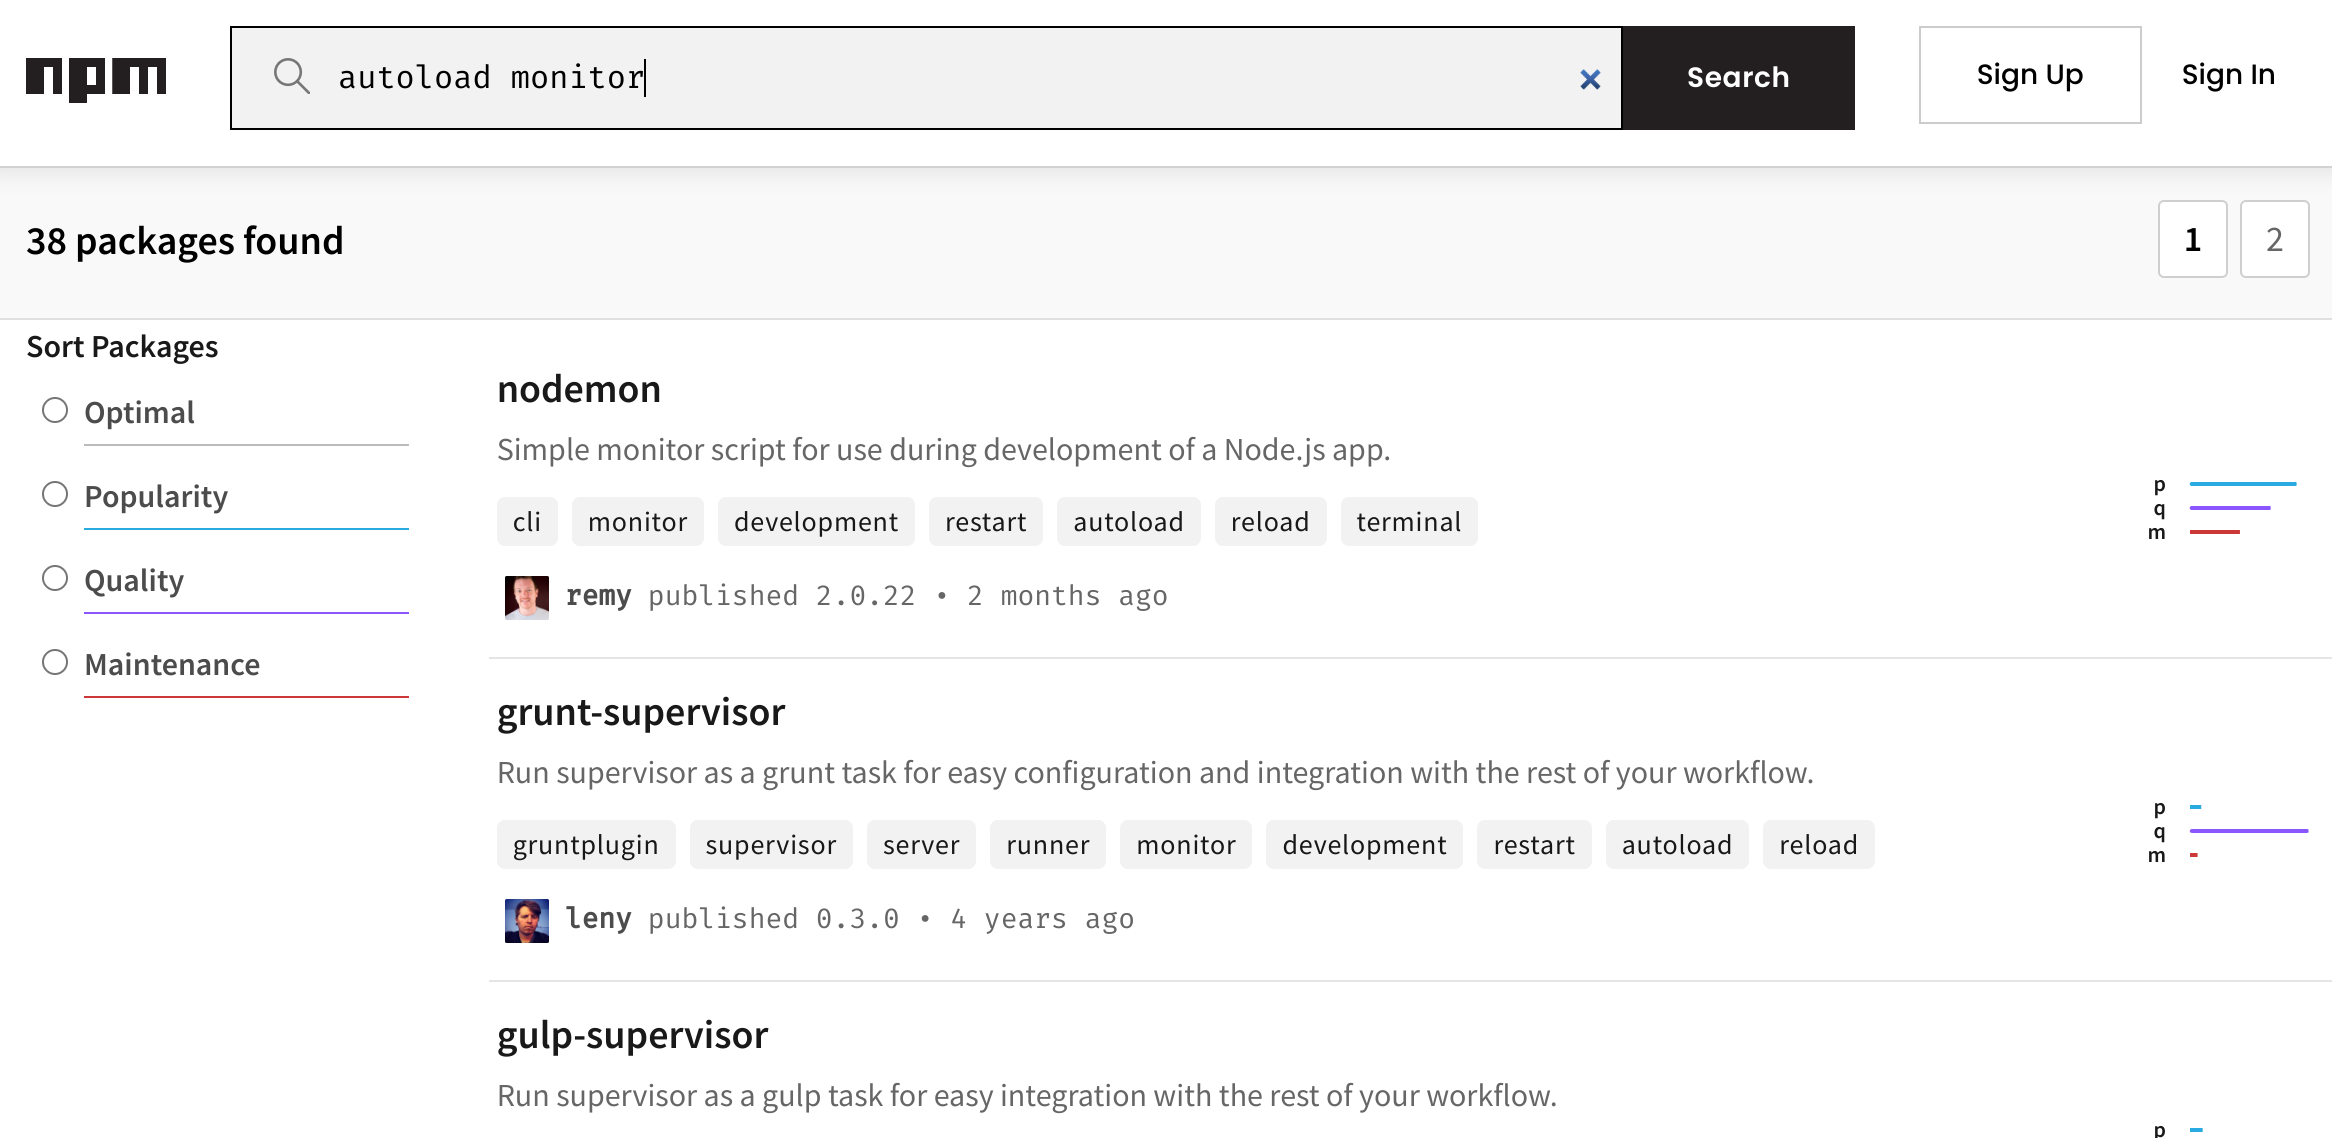
From our search, you can see that a package called nodemon is the first result. Clicking on the result takes us to the information page for the package, which tells us that there have been over 4 million weekly downloads. Clearly, it’s a well-used and liked package by Node developers, which is a good sign and something to watch for when looking for your own packages! Not only this, but the website for the package tells us that it does exactly what we’re looking for. From experience, I can confirm what the website says and tell you it does what we are asking. Nodemon, short for Node Monitor, is a convenient package to use in development that solves the problem of having to reload your file after making a change which is a massive quality-of-life improvement, especially for new developers who are more likely to make the occasional mistake. It’s one of the first packages I install every time I start up a new Node project, and I would highly recommend including it in your development process, as I have come to. To set you up with good habits early on, Nodemon will be the first package we install in our Due or Die web app.
NPM Install
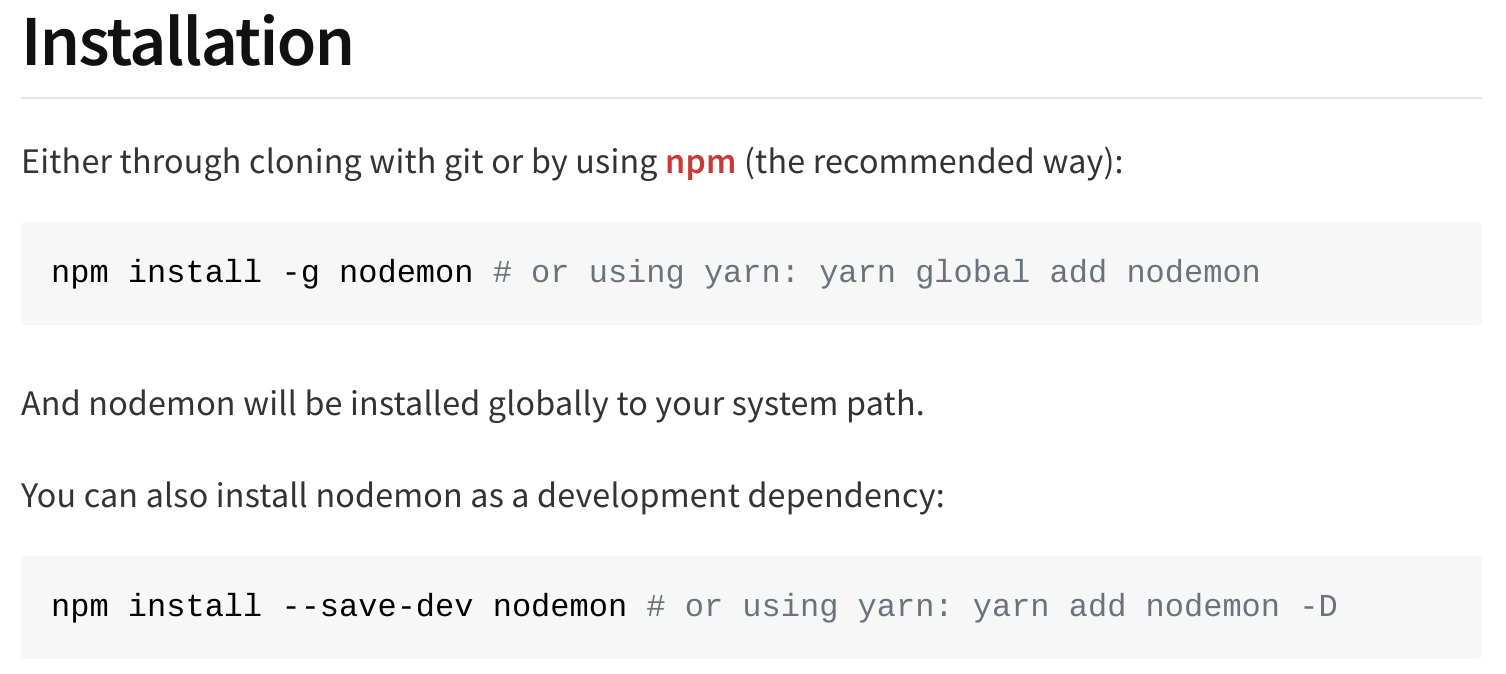
Having found our package, we’ll need to install Nodemon to use it in our project. NPM makes this extremely user-friendly with a simple command. To install the package, open a terminal and cd into the same directory as the package.json. In our case, this is the root folder of our application, /due-or-die. Once there, run the command “npm install” followed by the application’s name, and NPM will automatically install it for us!
npm install nodemon
If you find multiple packages you’d like to install, you can install them all simultaneously by adding more package names to the end of the command instead of using a separate command.
npm install nodemon package2 package3
If you’re unsure of the exact spelling or spacing of a package name you’re trying to install, you can always visit the package page itself. This page will almost always contain instructions or a command you can copy and paste into the terminal to install the package.
After running the command, the package has been installed, and the required files are in a new folder called “node_modules.” A package-lock.json file has been created for us with information about all the other automatically installed packages that nodemon is dependent on. While we can adjust these if needed, you will rarely have to do so, and it is certainly beyond the scope of our series, so we’ll leave them be for now.
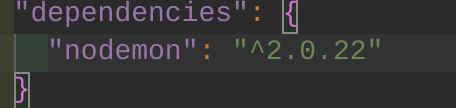
It’s also worth noting that while nodemon has been installed, it’s only been installed locally in our working directory. This means that if we want to start up another project and use nodemon, we’ll be met with an error, or be asked to install Nodemon. To rectify this, we could add the “-g” flag to our install command to install the package globally. That said, I’d only recommend doing this for packages you’re familiar with and will use a lot in your time as a Node developer. Not only is this cleaner and provides you with a blank canvas on which to work with each new project you create, but NPM also did something for us in the background when we installed the package that we otherwise would have to do manually in projects down the line if we were to install the package globally. Now that we have installed the package, we can open up our package.json and see that NPM has added a new section to the file called “dependencies” and has automatically listed the current version of nodemon under it.
If we were to install the package globally, we’d still be able to use nodemon in another project, but we’d have to manually add the current version number and package name in our package.json. In my experience, it’s much easier to add each package to the working directory using the npm install command as they come up so that NPM can do all the work for us and add them to our dependencies list.
Another handy function of the npm install command is when you have just downloaded someone else’s node project off GitHub, for instance, from an article series about Node that you happen to be following along with (wink wink, cough cough). Instead of looking in the package.json file and installing each dependency by hand, if you run the command “npm install” without a package name in the same folder as the package.json is in, NPM will automatically install all the dependencies listed in the package.json file. For future articles in this series, you can use this functionality by simply downloading the branch and running “npm install” in the directory to install all dependencies in that lesson.
NPX and Using Nodemon
With nodemon installed and ready to use, let’s create a JavaScript file to test it. The entry point to most programs is titled index.js, which we specified in our settings when creating our package.json file, so we’ll create an index.js file to test our nodemon install. Eventually, this file will contain some code related to how we handle requests on our website, but for now, we’ll simulate this with an if statement.
let baseURL = "https://dueordie.com"
let urlExtension = "/sign-up"
let mockURL = baseURL+urlExtension

if (mockURL == "https://dueordie.com"){
    console.log("Welcome to the homepage of the website")
}
else if(mockURL == "https://dueordie.com/sign-up"){
    console.log("This is the signup page")
}
else{
    console.log("404: that URL does not exist")
}
Let’s quickly walk through this code for readers new to JavaScript. In the first three lines, we use the “let” keyword to define three variables: a base URL, a URL extension, and one called mockURL, which combines the two. This way, in our if statement, we can check to see if the URL is the same as the base and “send” the homepage. Otherwise, we can check for known extensions to send those pages instead or a 404 page if an extension doesn’t exist or isn’t known to us.
The next block of code uses an if-else statement with two conditions and a default in case neither of the two previous conditions have been met. In the first if, the condition we want to check is contained in brackets, and it states that we check whether the mockURL is the same as the baseURL variable defined earlier. We use two equal signs to indicate that we want the two variables to match exactly. We do the same in the else if statement after, which checks if the “/sign-up” extension has been added to the base URL and lets us know that the sign-up page was requested if it was. Lastly, the “else” at the end only runs if none of the previous conditions were met. If this is the case, then a 404 is returned, letting us know that the requested mockURL was not one we accounted for.
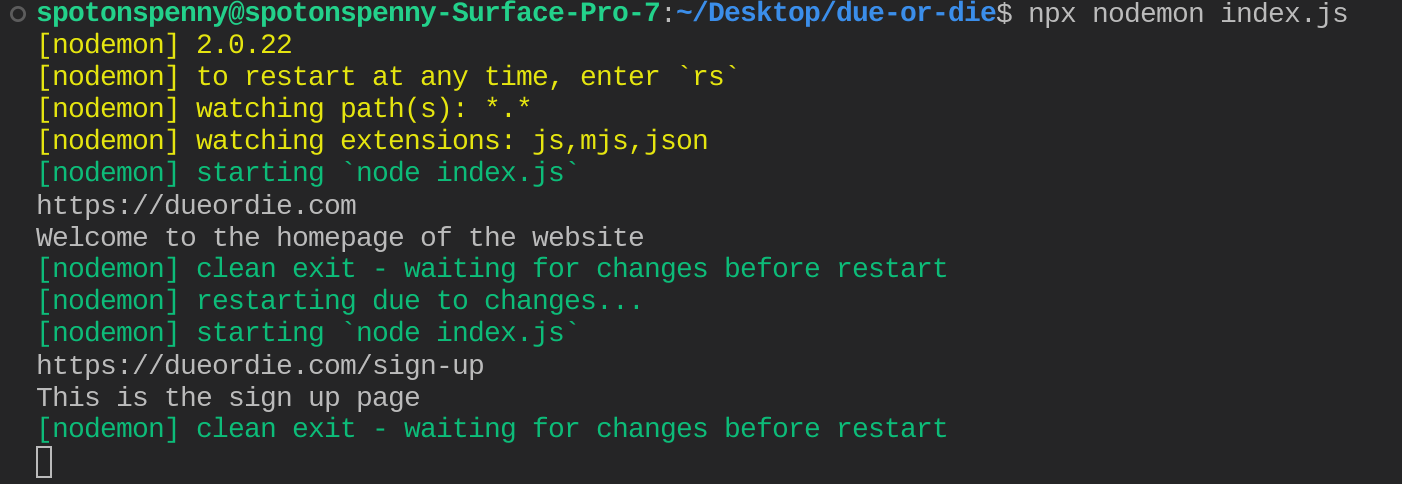
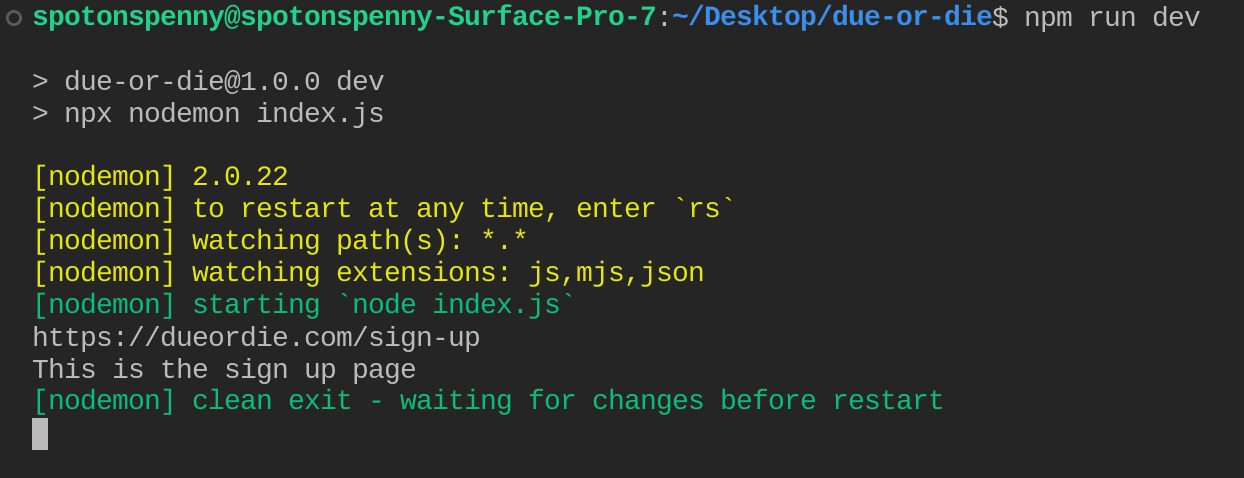
With our code all written up, we can run the file using nodemon. To do so, we want to use “npx,” another NPM command that lets us run commands from installed packages. Since nodemon is a package we have installed and want to run, we can use the npx command to use nodemon with the command below by telling nodemon which file we want to run the same way we used the command “node” in the previous article.
npx nodemon index.js
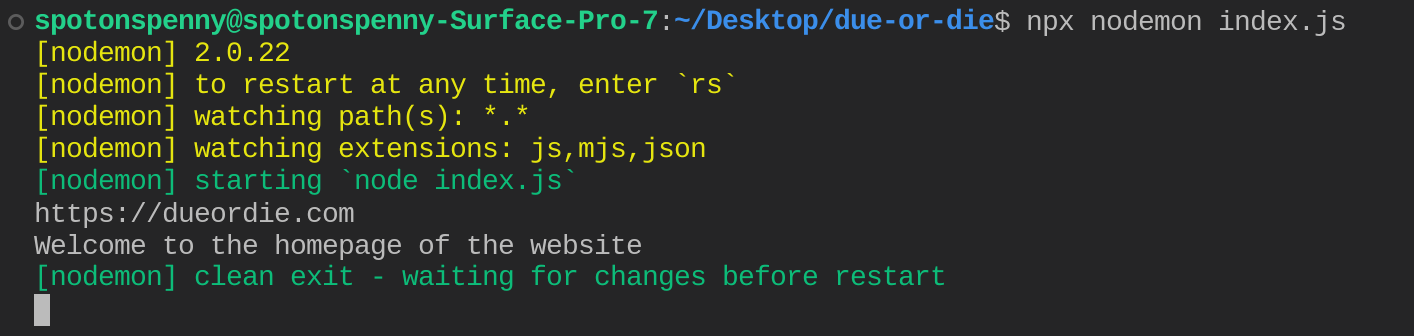
Since the urlExtension variable contained an empty string, the mockURL matched the baseURL and returned the print statement as expected. Since we ran our code with nodemon, we can add a urlExtension, and our code will automatically run again. In this case, I’ve updated the urlExtension to “/sign-up” to match our second condition. Once I save the file, nodemon will restart the file with the updates we made, and the correct print statement is once again returned.
let urlExtension = "/sign-up" //changed from let urlExtension = ""
This code is similar to how we’ll be handling URLs in the future for our application, except instead of returning print statements, we’ll be sending full HTML documents to a browser, and we’ll be using a web server to handle incoming requests from users instead of variables that we create in our code.
If you forgot to type the file name in your command, you may have also noticed that nodemon could still run the index.js file without us telling it what file to run. This is because by default the nodemon package uses the “entry point” from our package.json file and assumes that we want to run that file. Since we created the package.json with index.js as our entry point, nodemon assumes that we want to run that file if we don’t specify anything else.
NPM Run and Adding Scripts
Nodemon also allows us to show you another bonus of using Node: we can create scripts for common processes in development and specify a command to use them in the terminal. Since we’ll be using nodemon an awful lot in the testing and development of our application, let’s create a script that we can use to run our index.js file, which will eventually start up a web server and listen for requests.
To create a script, open our package.json file and look for the item labeled “scripts.” To create a new one, we only need to add a comma to the previous item and create another item on a new line. It’s pretty standard for developers to create a script using the “dev” keyword that opens up a development environment, an instance of your project which automatically updates as changes are made to code, so let’s do that! To make the script, we want to have the first part be a string that we’ll use to call the script (“dev” in our case) and the second part to be the commands that we want to run in the terminal, which in our case is npx nodemon index.js like we just ran.

Once your package.json looks like the screenshot above with the new script in place, you can run the command using the “npm run” command followed by the keyword you specified in the package.json file. For us, this is command will be “npm run dev.”
While this is a common and basic use of the npm run command, it’s important to remember that we can do much more complicated commands and run essentially any file with the same process. In fact, many packages or node-based projects you’ll come across will have an entire arsenal of homemade scripts and whole folders of files corresponding to commands that are run using the npm run command. It’s a highly versatile tool and will come in handy as you create more complex projects that need testing!
Using .gitignore
If you’re using VS Code like I am, you may have noticed that after we installed nodemon, we saw somewhere in the neighborhood of ~300 changes made to our directory. Of course, we didn’t make this many changes or add many files to our project, but when we installed nodemon, we also installed all the associated files and dependencies. While these many changes are not unheard of, they add up quickly when we use multiple packages in a project, drastically increasing the time it takes to upload or download all our project files to or from a GitHub repository. Because of this, it’s common practice to use a .gitignore file to tell git not to upload these files to a repository when we push our code. To do so, we only need to create a .gitignore file and add the line “node_modules/.”
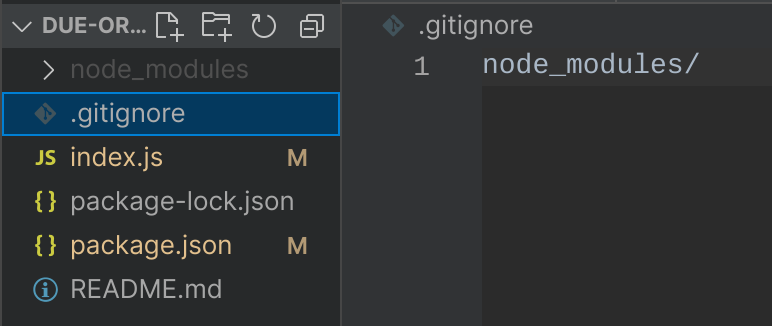
Adding the / after the node_modules will tell git to exclude the entire folder and all files within it from the changes we make. Once you’ve made this file, save it, and you’ll notice that the changes drop drastically only to include package.json, package-lock.json, index.js, and the newly created .gitignore file. Now, if we download the files from a repo on a new computer, all we need to do is run npm install in the directory with the package.json, and NPM will install all the packages required for us to be back where we were!
Conclusion
Phew! I know that was a lot of information, but this article covers the basis of a lot of the work we’ll be doing in developing our web app and will be necessary when you start up your own project. To recap, in this article we went over the following:
- What NPM is and several NPM commands, including…
- Npm init
- Npm install
- Npm run
- Npx
- What the package.json file is and the functionality it provides
- Creating custom commands
- What nodemon is and what it does
You’ll use most of this in almost any Node project you create. We’ll even build on this further in the next article of the series by installing another package called Express and using that to handle some URL routing to respond to requests by sending HTML documents. In the meantime, I encourage you to explore some of the 1.3 million packages available now that you know how to use NPM!
See Next post